


You are looking at the documentation of a prior release. To read the documentation of the latest release, please
visit here.
Upgrading Stash
This guide will show you how to upgrade various Stash components. Here, we are going to show how to upgrade from an old Stash version to the new version, how to migrate between the enterprise edition and community edition, and how to update the license, etc.
Upgrading Stash from v2021.xx.xx to v2023.02.28
In order to upgrade from Stash v2021.xx.xx to v2023.02.28, please follow the following steps.
1. Update Stash catalog CRDs
Helm does not upgrade the CRDs bundled in a Helm chart if the CRDs already exist. So, to upgrade the Stash catalog CRDs, please run the following commands below:
# Update catalog CRDs
$ kubectl apply -f https://github.com/stashed/installer/raw/v2023.02.28/crds/stash-catalog-crds.yaml

# Update metrics CRDs
$ kubectl apply -f https://github.com/stashed/installer/raw/v2023.02.28/charts/stash-metrics/crds/metrics.appscode.com_metricsconfigurations.yaml
2. Upgrade Stash Operator
Now, upgrade the Stash helm chart using the following command. You can find the latest installation guide here.
# Update the helm repositories
$ helm repo update

# Upgrade Stash Community operator chart
$ helm upgrade stash appscode/stash \
  --version v2023.02.28 \
  --namespace kube-system \
  --set features.community=true               \
  --set-file global.license=/path/to/the/license.txt

# Upgrade Stash Enterprise operator chart
$ helm upgrade stash appscode/stash \
    --version v2023.02.28 \
    --namespace kube-system \
    --set features.enterprise=true                \
    --set-file global.license=/path/to/the/license.txt
3. Post uprade cleanup
We have changed the name format for auto-backup resources to support dedicated backup or storage namespace. If you were using a dedicated storage namespace for your auto-backup through the repoNamespace field, you might see a new BackupConfiguration and Repository has been created with a new name format. Unfortunately, Stash can’t remove the old BackupConfiguration and Repository before creating a new one due to a flaw in how we handled them previously. In this case, you can safely remove the old BackupConfiguration and Repository. Your backed-up data will be intact.
To cleanup the BackupConfigurations and the Repositories,
# Delete a particular backupconfiguration
$ kubectl delete backupconfiguration -n <namespace_name> <backupconfiguration_name>

# Delete a particular repository
$ kubectl delete repository -n <namespace_name> <repository_name>
Upgrading Stash from v0.11.x and older to v0.12.x
In Stash v0.11.x and prior versions, Stash used separate charts for Stash community edition, Stash enterprise edition, and Stash Addons catalogs. In Stash v0.12.x, we have moved to a single combined chart for all the components for a better user experience. This enables seamless migration between the Stash community edition and Stash enterprise edition. It also removes the burden of installing individual database addons manually.
In order to upgrade from Stash v0.11.x to v0.12.x, please follow the following steps.
1. Pause Upcoming Backups
The entire upgrade process may take few minutes depending on your configurations. If you have any scheduled backup that can trigger during the upgrade process, you are advised to pause them before starting the upgrade process.
You can pause a backup by setting spec.paused field of a BackupConfiguration to true as below,
kubectl patch backupconfiguration -n <namespace> <BackupConfiguration name> --type="merge" --patch='{"spec": {"paused": true}}'
If you don’t pause the backup, then any backup that has been triggered during the upgrade process should start executing as soon as the upgrade is completed. So, if multiple backups of different targets are triggered during the upgrade process, they all will start executing simultaneously after the upgrade. If multiple backups of the same target are triggered during the upgrade process, only the first one will be executed and others will be skipped.
2. Uninstall Stash Addons
Now, if you have installed Stash database addons, then uninstall them by following their uninstallation guide. All the database addons will be created automatically when you upgrade to the new version of the Stash enterprise edition.
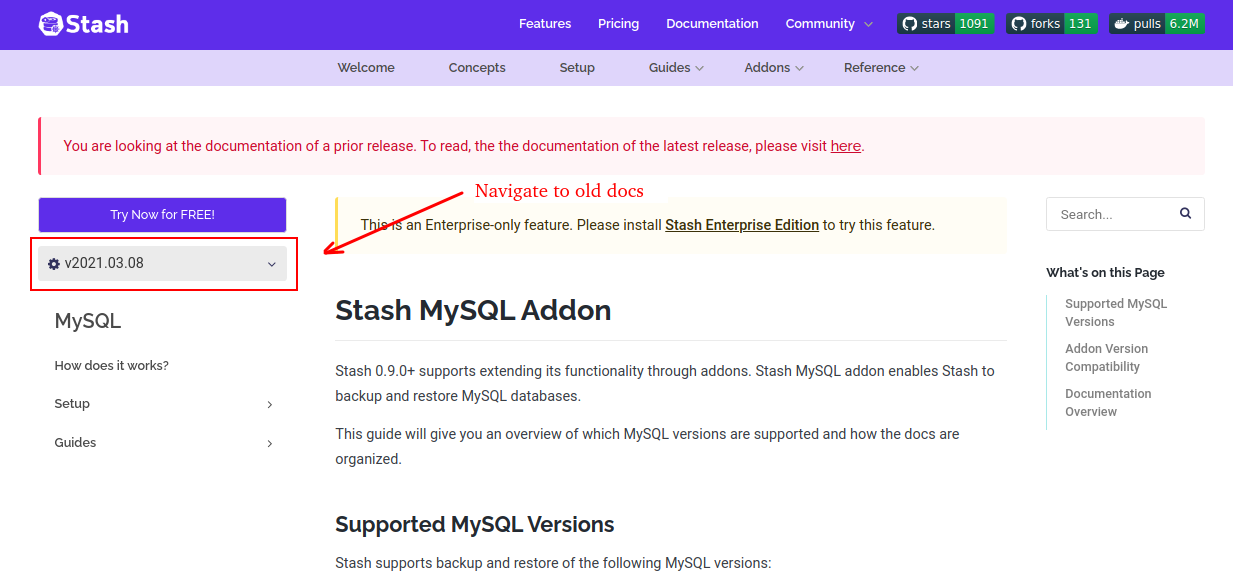
Make sure to use the appropriate uninstallation guide for the addon version that you are currently using. You can use the dropdown on the left sidebar of the documentation site to navigate to the documentation for previous versions.
New documentation does not contain the installation/uninstallation guide for the Addons as they are now automatically installed/uninstalled along with the Stash operator.
3. Uninstall Stash Operator
Now, uninstall the Stash operator by following the appropriate uninstallation guide of the Stash version that you are currently running.
Make sure you are using the appropriate version of the uninstallation guide. The uninstallation guide for
v0.12.xwill not work forv0.11.xUse the dropdown at the sidebar of the documentation site to navigate to the appropriate version that you are currently running.
5. Update CRDs
When you uninstall the Stash Operator, it does not remove the old CRDs. Upgrade them to the latest version using the following commands:
# Update Stash Catalog CRDs
$ kubectl apply -f https://github.com/stashed/installer/raw/v2023.02.28/crds/stash-catalog-crds.yaml
4. Reinstall new Stash Operator
Now, follow the latest installation guide to install the new version of the Stash operator. You can find the latest installation guide here.
5. Update Task Name in BackupConfiguration
Stash v0.12.x has dropped the v1, v2, etc. suffix of Task name to make it easier to upgrade in future versions. In the future, when you upgrade the Stash operator, you will no longer need to update the Task name in the existing BackupConfigurations. However, for upgrading from v0.11.x to you v0.12.x, you have to update the Task name of your existing BackupConfigurations for one last time.
Please, remove the -vX suffix from the spec.task.name filed of any existing BackupConfiguration. Use the following command to edit the BackupConfiguration,
kubectl edit -n <namespace> <BackupConfiguration name>
For example, here is an example of spec.task section before and after the update.
# Before Update
  task:
    name: mysql-backup-8.0.27 # remove '-v1' part
# After update.
  task:
    name: mysql-backup-8.0.21
If you are using KubeDB to manage your databases, you can remove the
spec.tasksection entirely. KubeDB catalogs now include the respective addon information for each database version. Stash will read the addon information from there. You no longer have to worry about what addon to use with which database version.
6. Resume Backup
Finally, you can resume the backups that you have paused before starting the upgrade process. You can resume backup by setting spec.paused field of respective BackupConfiguration to false as below,
kubectl patch backupconfiguration -n <namespace> <BackupConfiguration name> --type="merge" --patch='{"spec": {"paused": false}}'
Migration Between Community Edition and Enterprise Edition
Stash v0.12.x supports seamless migration between community edition and enterprise edition. You can run the following commands to migrate between them.
Using Helm 3
From Community Edition to Enterprise Edition:
In order to migrate from Stash community edition to Stash enterprise edition, please run the following command,
helm upgrade stash -n kube-system appscode/stash \
  --reuse-values \
  --set features.community=false \
  --set features.enterprise=true \
  --set-file global.license=/path/to/stash-enterprise-license.txt
From Enterprise Edition to Community Edition:
In order to migrate from Stash enterprise edition to Stash community edition, please run the following command,
helm upgrade stash -n kube-system appscode/stash \
  --reuse-values \
  --set features.community=true \
  --set features.enterprise=false \
  --set-file global.license=/path/to/stash-community-license.txt
Using YAML (with helm 3)
From Community Edition to Enterprise Edition:
In order to migrate from Stash community edition to Stash enterprise edition, please run the following command,
# Delete resources of Stash community edition
helm template stash -n kube-system appscode/stash \
  --set features.community=true \
  --set global.license="nothing" \
  --set global.skipCleaner=true | kubectl delete -f -

# Install Stash enterprise edition
helm template stash -n kube-system appscode/stash \
  --version v2023.02.28 \
  --set features.enterprise=true \
  --set global.skipCleaner=true \
  --set-file global.license=/path/to/stash-enterprise-license.txt | kubectl apply -f -
From Enterprise Edition to Community Edition:
In order to migrate from Stash enterprise edition to Stash community edition, please run the following command,
# Delete resources of Stash enterprise edition
helm template stash -n kube-system appscode/stash \
  --set features.enterprise=true \
  --set global.license="nothing" \
  --set global.skipCleaner=true | kubectl delete -f -

# Install Stash community edition
helm template stash -n kube-system appscode/stash \
  --version v2023.02.28 \
  --set features.community=true \
  --set global.skipCleaner=true \
  --set-file global.license=/path/to/stash-community-license.txt | kubectl apply -f -
Updating License
Stash support updating license without requiring any re-installation. Stash creates a Secret named <helm release name>-license with the license file. You just need to update the Secret. The changes will propagate automatically to the operator and it will use the updated license going forward.
Follow the below instructions to update the license:
- Get a new license and save it into a file.
- Then, run the following upgrade command based on your installation.
Using Helm 3
# detect current version
helm ls -A | grep stash

# update license key keeping the current version
helm upgrade stash -n kube-system appscode/stash --version=<cur_version> \
  --reuse-values \
  --set-file global.license=/path/to/new/license.txt
Using YAML (with helm 3)
Update License of Community Edition:
# detect current version
helm ls -A | grep stash

# update license key keeping the current version
helm template stash -n kube-system appscode/stash --version=<cur_version> \
  --set features.community=true \
  --set global.skipCleaner=true \
  --show-only appscode/stash-community/templates/license.yaml \
  --set-file global.license=/path/to/new/license.txt | kubectl apply -f -
Update License of Enterprise Edition:
# detect current version
helm ls -A | grep stash

# update license key keeping the current version
helm template stash appscode/stash -n kube-system --version=<cur_version> \
  --set features.enterprise=true \
  --set global.skipCleaner=true \
  --show-only appscode/stash-enterprise/templates/license.yaml \
  --set-file global.license=/path/to/new/license.txt | kubectl apply -f -
Upgrading from 0.9.x to v2020.x.x
If you are upgrading from 0.9.x which did not use license verification to the new v2020.x.x, you have to first uninstall the old version. Then, you have to re-install the new version.
If you are upgrading from 0.9.x to v2020.x.x Community edition, please note that the following features are only available in Enterprise edition:
- Auto-Backup: Auto-backup is now an enterprise feature. You won’t be able to setup any new backup using auto-backup. However, your existing auto-backup resources should keep functioning.
- Batch Backup: Batch backup and restore is also now an enterprise feature. You won’t be able to create any new backup using batch-backup. However, your existing backup should continue to work and you would be able to restore the data that were backed up using BatchBackup.
- Local Backend: Local backend now is an enterprise feature. If you are using any Kubernetes volume (i.e. NFS, PVC, HostPath, etc.) as backend, you won’t be able to create any new backup using those backends. However, your existing backup that uses the sidecar model should keep functioning. You have to use the Enterprise edition to restore the backed-up data. If you are interested in purchasing an Enterprise license, please contact us via [email protected] for further discussion. You can also set up a meeting via our calendly link.
If you are using any Stash addons, you might need to update the Task name in your BackupConfiguration to comply with the new naming scheme of the Function and Task.